


KBonk
This is a help page for KBonk, a tool I created to allow viewers to interact with streaming VTubers by throwing items at their model!
As of version 1.21, KBonk now opens the authentication window in the user's browser.
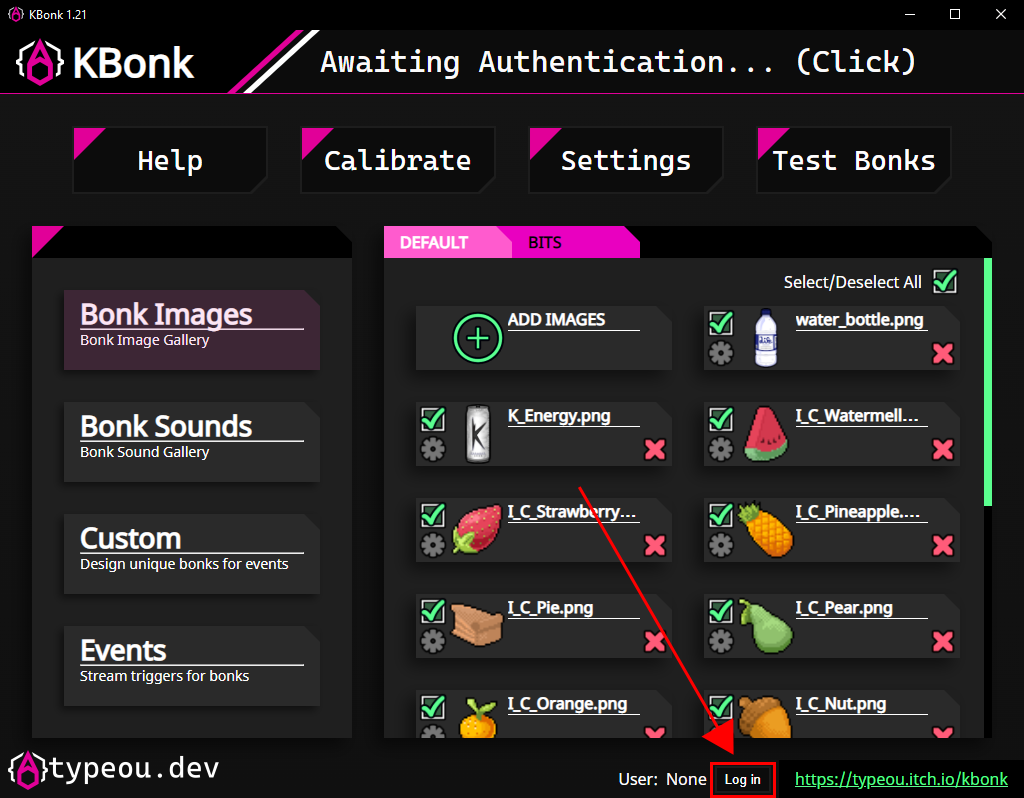
To start, click the "Log in" button at the bottom of the program.
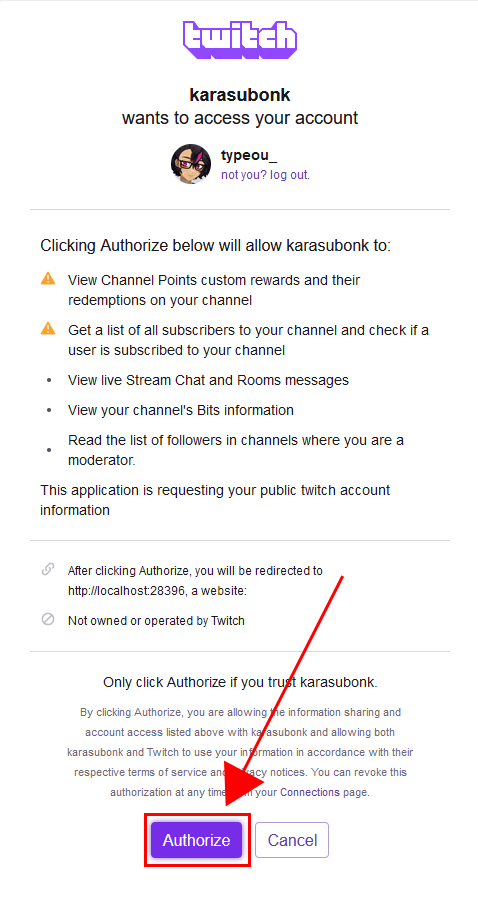
If you're not already logged into Twitch on your default browser, log in and click "Authorize" on the page that follows.
After a moment, you should see text that reads "You may now close this window and return to KBonk." You should now be successfully logged in, and KBonk should now display your username at the bottom!
If you encounter issues or need to switch users, click the "Log out" button at the bottom of the page and follow these steps again.
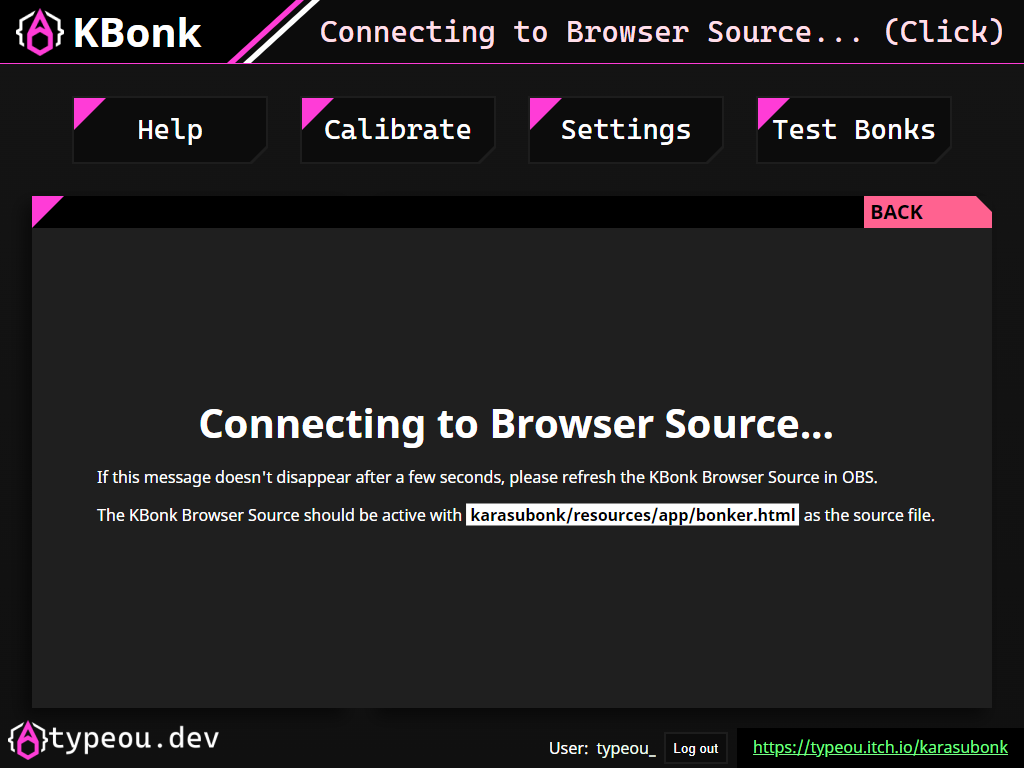
After successfully logging in, the status message at the top of the page should change to something regarding the browser source.
Reminder: you can click the status bar at the top for more info!
KBonk is browser-based, so to get it working you need to add a Browser Source to your OBS scenes!
To add KBonk as a browser source, create a new Browser Source...
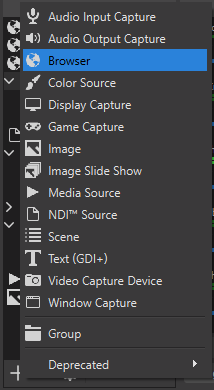
...and check the "Local file" option to allow you to choose an .html file.
Navigate to the folder you stored KBonk, then into resources/app and select bonker.html as the file.

The main program should automatically connect! That status message regarding the Browser Source should disappear shortly.
You should set the width and height of the Browser Source to match your VTube Studio Source!
You can find the width and height of your VTube Studio Source by right-clicking on your VTube Studio source and navigating to Transform, Edit Transform

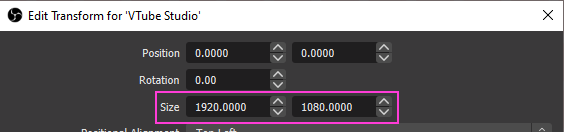
These values should be the same.
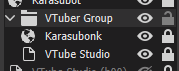
If you tend to move your VTube Studio Source, it may be helpful to make a group for KBonk and your VTube Studio source so they always move together.
If you encounter issues, the first thing you usually want to try is refreshing the Browser Source.
There are two locations to do this: the properties of the Browser Source...

...and the quick actions bar just below your preview window.

KBonk relies on the VTube Studio API, so make sure it's enabled!
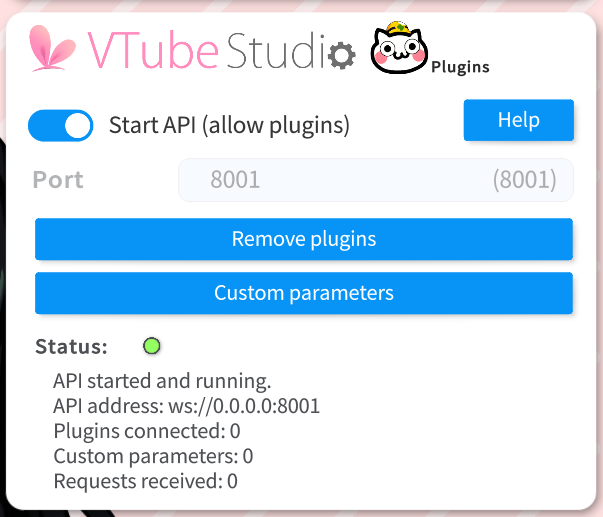
The VTube Studio Port setting in KBonk should match the Port displayed in VTube Studio!
If properly configued, you should automatically receive a prompt for KBonk's connection with VTube Studio.
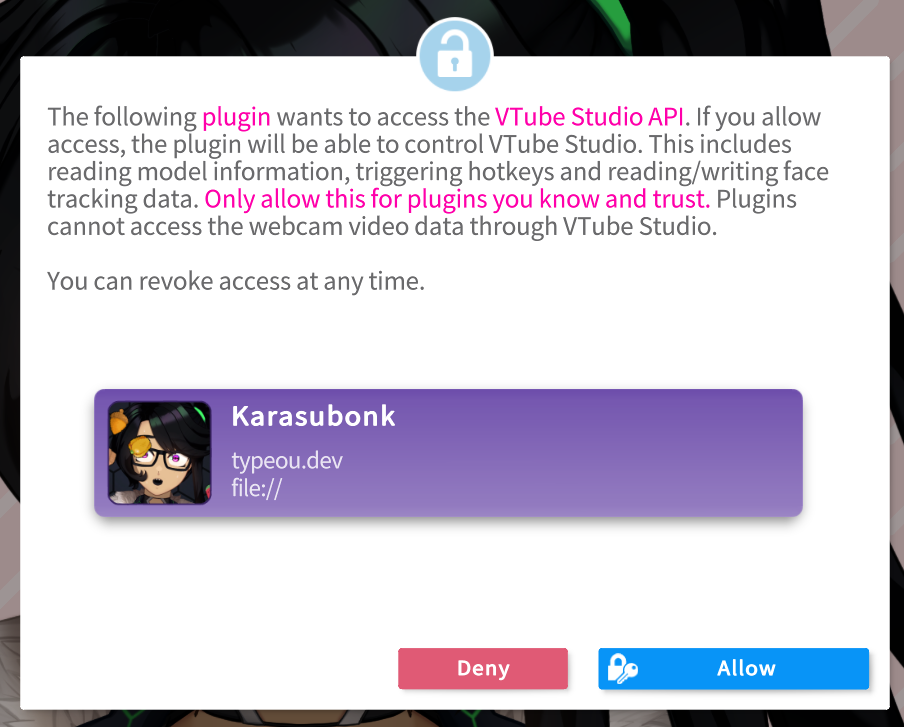
Click Allow to continue.
The program should now be capable of throwing objects!
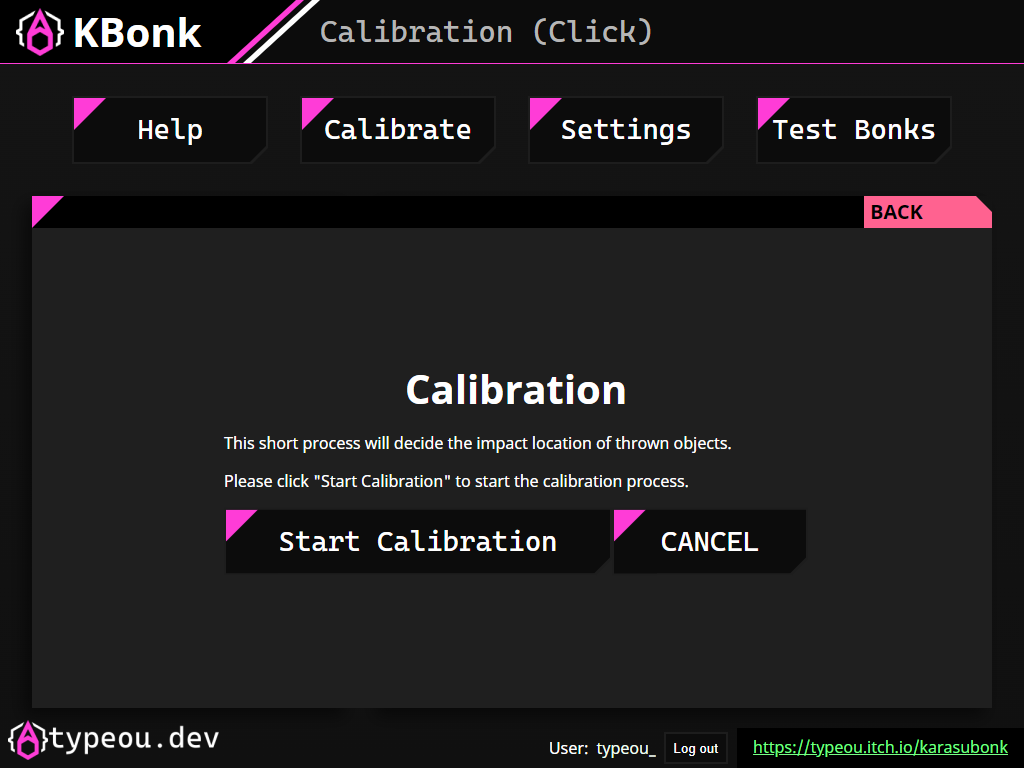
However, the position is likely to be incorrect. A quick calibration process is required to fix that.
Click the "Calibrate" button at the top of the window to start the calibration process.
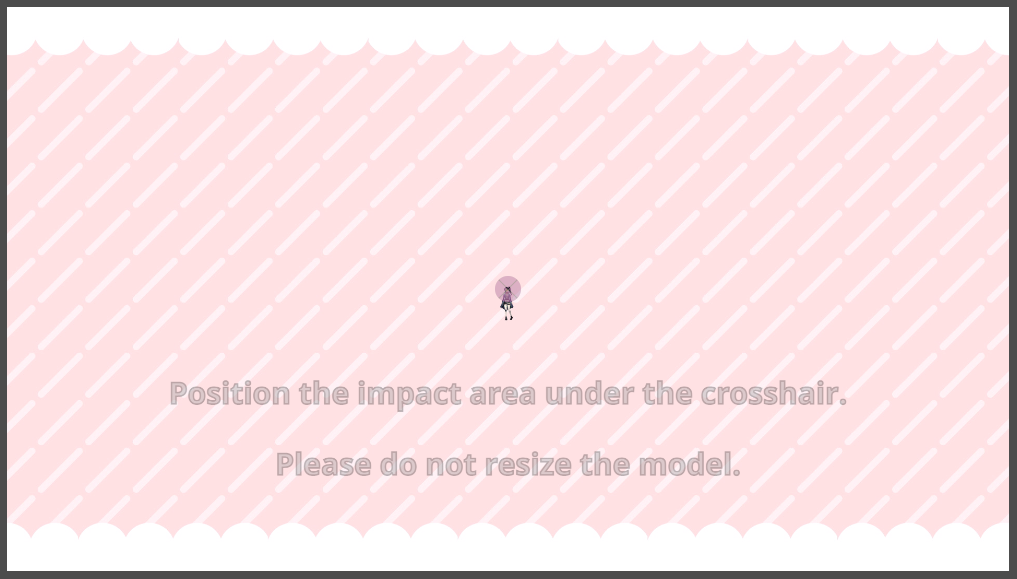
After starting calibration, your model in VTube Studio should become very small!
Please do not resize it or you will be required to repeat this step!
A guide will be displayed in OBS. Please move the model in VTube Studio while looking at your OBS preview in order to align your model's head with the guide!
After you are satisfied, click the "Continue Calibration" button in the main program window and repeat the process!
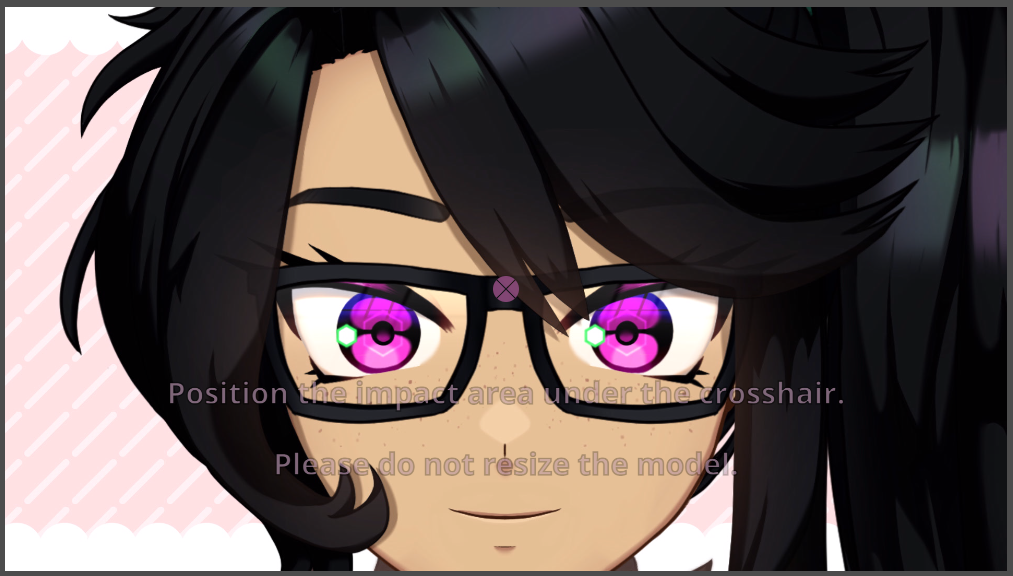
After you are satisfied, click the "Confirm Calibration" button in the main program window!
If successful, the calibration process will complete. Thrown objects should now properly align with your model's head!
Next, we'll configure channel point redeems to trigger bonks!
The program comes with a few redeems pre-set. You can always add more for different types of bonks!
Navigate to the "Events" menu and click the "Listen" button for one of the types of events.
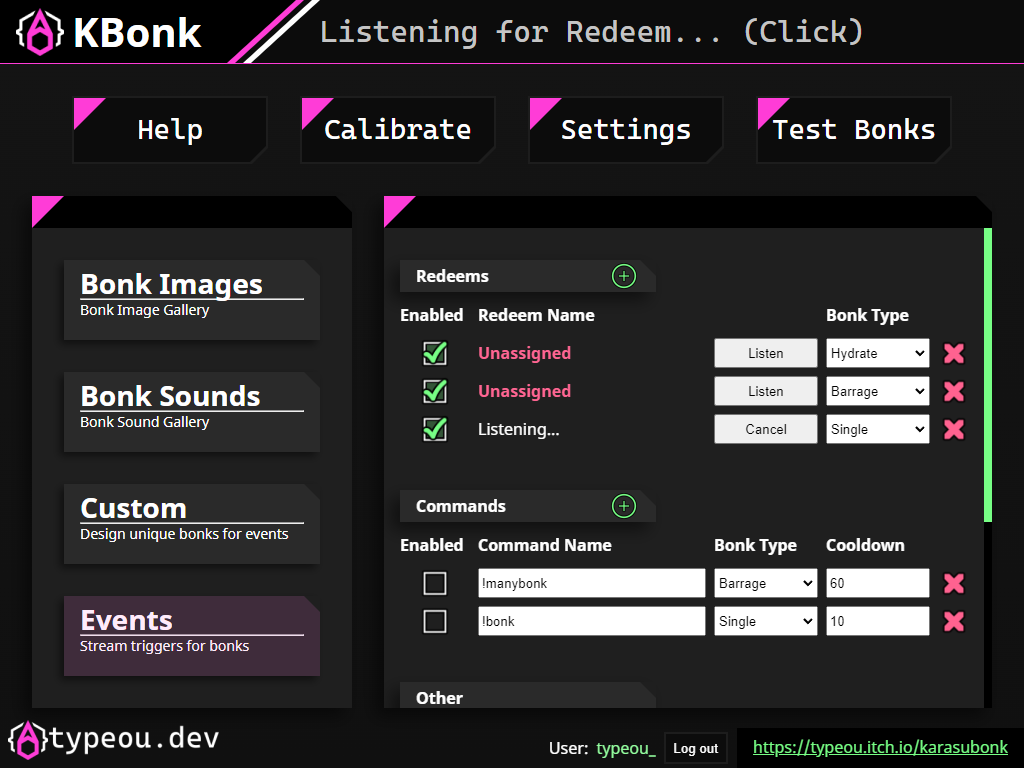
The program will then wait for a channel point redeem! Simply use the redeem you wish to associate with the event.
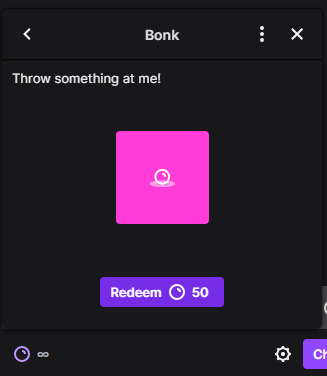
That redeem should now trigger the relevant event!
Finally, loading custom images and sounds!
For this example, I'll refer to images; but the process is the same for sounds and all other types of uploads!
This process uses a normal file selection window. Just navigate to the Images or Sounds gallery and click the "ADD IMAGES" button!
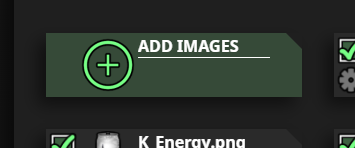
Select whichever images you'd like and click "Open" to add them to the list!
The new image is now active! You can leave it at that, or click the cogwheel to access the image details.
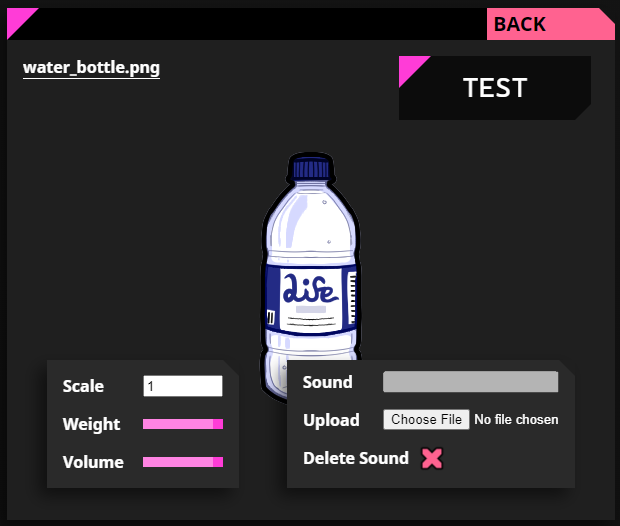
Here, you can adjust various settings like weight, size, volume, and add or remove sound overrides for this image!
That's it for the basics of KBonk! There's lots of customization to be had, so go wild and experiment!
Custom Bonks give you a lot of control, and KBonk includes one by default (Hydrate) that only throws the two drink images!
Windup settings let you do some funny things (like a Gamecube startup sound!) and impact decals let you add things like hitmarkers when an item hits you!
Please have fun customizing and using KBonk, and thank you for using it!